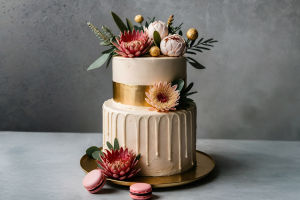
Good Day, Lykkers! Elegant, soft, and lusciously smooth, panna cotta is one of those desserts that feels like it belongs in a fine-dining restaurant — but in reality, it's surprisingly easy to make at home.
With its origins in Northern Italy, this delicacy translates to "cooked cream", and it lives up to its name by offering a delicate, melt-in-your-mouth experience.
Perfect for warm summer evenings or cozy indoor dinners, panna cotta can be dressed up or kept minimal, adapting to every occasion and every kitchen. Whether you're hosting guests or simply indulging in a little treat, this dessert delivers satisfaction with every silky spoonful!
Step-by-Step Instructions to Make Panna Cotta at Home
Ingredients You'll Need:
2 cups (480 ml) heavy cream
1 cup (240 ml) whole milk
1/2 cup (100 g) granulated sugar
2 tsp unflavored powdered gelatin
1 tsp pure vanilla extract
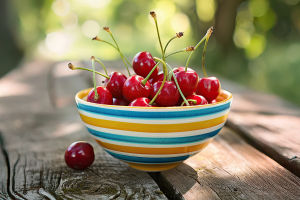
Fresh berries or fruit compote (for topping)
Optional: citrus zest, cardamom, or rose water for flavor infusion
Step-by-Step Instructions
1. Bloom the Gelatin
Begin by sprinkling the gelatin evenly over 1/4 cup of cold milk in a small bowl. Allow it to sit untouched for 5 to 10 minutes. During this time, the gelatin absorbs the liquid and swells, forming a gel-like texture. This step is essential because directly heating gelatin without blooming can result in uneven texture or gritty spots in your panna cotta.
2. Warm the Cream Mixture
In a saucepan, combine the heavy cream, the remaining milk, and sugar. Place over medium heat, stirring occasionally until the sugar dissolves completely. Do not let it boil. The goal is to heat the mixture until it's hot to the touch but not bubbling. Boiling cream can alter the final taste and texture, so keep an eye on the temperature.
3. Dissolve the Gelatin
Once the mixture is heated through, remove the pan from the stove. Immediately stir in the bloomed gelatin until it's fully dissolved. This ensures a smooth consistency throughout. At this stage, you can also stir in the vanilla extract or any additional flavorings, such as orange zest for a citrus note or a splash of rose water for floral elegance.
4. Strain for Silky Texture
To achieve the signature panna cotta smoothness, pour the mixture through a fine-mesh sieve into a large measuring cup or jug. This catches any bits of undissolved gelatin or zest and guarantees that the final dessert will be free of lumps or air bubbles.
5. Portion and Cool
Carefully pour the strained mixture into small ramekins, glass cups, or silicone molds. Fill each container about 3/4 full to leave room for toppings later. Let the filled containers sit at room temperature for about 30 minutes before transferring them to the refrigerator. Chill for at least 4 hours, or overnight for best results. As it cools, the panna cotta will set into a delicate yet stable form.
6. Serve and Garnish
To serve, you can enjoy it directly from the ramekin or unmold it for a more refined presentation. To unmold easily, dip the ramekin's bottom in warm water for a few seconds and invert it onto a plate. Garnish with fresh berries, fruit coulis, honey drizzle, or even chocolate shavings depending on your desired flavor contrast.
Tips to Perfect Your Panna Cotta
Gelatin Balance: Use just enough to set the cream without making it rubbery. If it jiggles gently when shaken, it's just right.
Temperature Awareness: Don't add gelatin to boiling cream — it can lose its setting power above 212°F (100°C).
Topping Pairings: Citrus-based toppings (like grapefruit segments or lemon curd) cut through the richness beautifully.
Dietary Swaps: For a plant-based version, use coconut cream and almond milk, replacing gelatin with agar-agar (about 1/2 tsp per 2 cups liquid).
Storage Note: Panna cotta keeps well in the fridge for up to 3 days, making it a great make-ahead option for dinner parties.
Panna cotta may seem like a simple mix of cream, sugar, and gelatin, but in the hands of a thoughtful cook, it becomes a canvas for creativity. Whether you infuse it with unique flavors or play with seasonal toppings, it never fails to impress. Its delicate texture and refined taste make it a go-to dessert for effortless elegance.
With just a few steps and a bit of patience, this timeless treat can easily find a place in your home dessert repertoire. Enjoy your creamy masterpiece, Lykkers!